




Automobile Sealing Strip Squeaks: Finding Friction and Alignment Problems
Automobile sealing strip squeaks can turn a routine service visit into a repeat complaint. A dressing may silence the noise temporarily, but it will not correct a sagging door, a rolled sealing lip, or rubber that no longer recovers after compression. The useful distinction is not simply “dry seal versus damaged seal.” It is whether the noise comes from the contact surface, incorrect loading, or deterioration of the seal itself.
Before applying anything, reproduce the complaint and inspect the contact pattern. That short diagnostic step often determines whether cleaning, an approved lubricant, adjustment, or replacement is the sensible repair.
Find the contact point before treating the rubber
Ask when the squeak occurs: over driveway transitions, on rough roads, during door closure, or only after rain or a wash. These details are clues, not proof. Body movement can make a door seal slip against painted metal, while water may temporarily change friction. A latch, trim clip, or glass run can produce a surprisingly similar sound.
With the vehicle stationary and the door latched, apply gentle inward pressure around the door perimeter while a second technician listens. Avoid glass, thin trim, and excessive force. Compare the suspect area with the opposite door, allowing for differences in profile and hardware. If the complaint occurs only while driving, reproduce it on a safe route with a separate driver; do not manipulate the door or latch in motion.
A small piece of paint-safe, low-tack tape on the suspected body contact surface can help isolate friction. Check finish compatibility, keep it clear of the latch and drains, and remove it after testing. A change in noise supports that contact location as a source; it does not establish that the rubber needs replacing. Avoid taping the entire opening, which hides the useful distinction between noisy and quiet sections.
Read the compression pattern
Open the door and follow the seal continuously, including corners and joints. Look for polished bands, trapped grit, displaced sections, loose retainers, splits, and lips folded underneath themselves. A narrow shiny patch beside a relatively untouched area suggests uneven contact. Check the corresponding painted surface for rub marks or accumulated residue.
A paper pull test provides a useful comparison. Close the door gently on a strip of plain paper at several accessible points and compare the resistance when pulling it free. Keep the paper away from latch components. This is a relative workshop check, not a measurement of sealing pressure: profile geometry and surface condition affect the result.
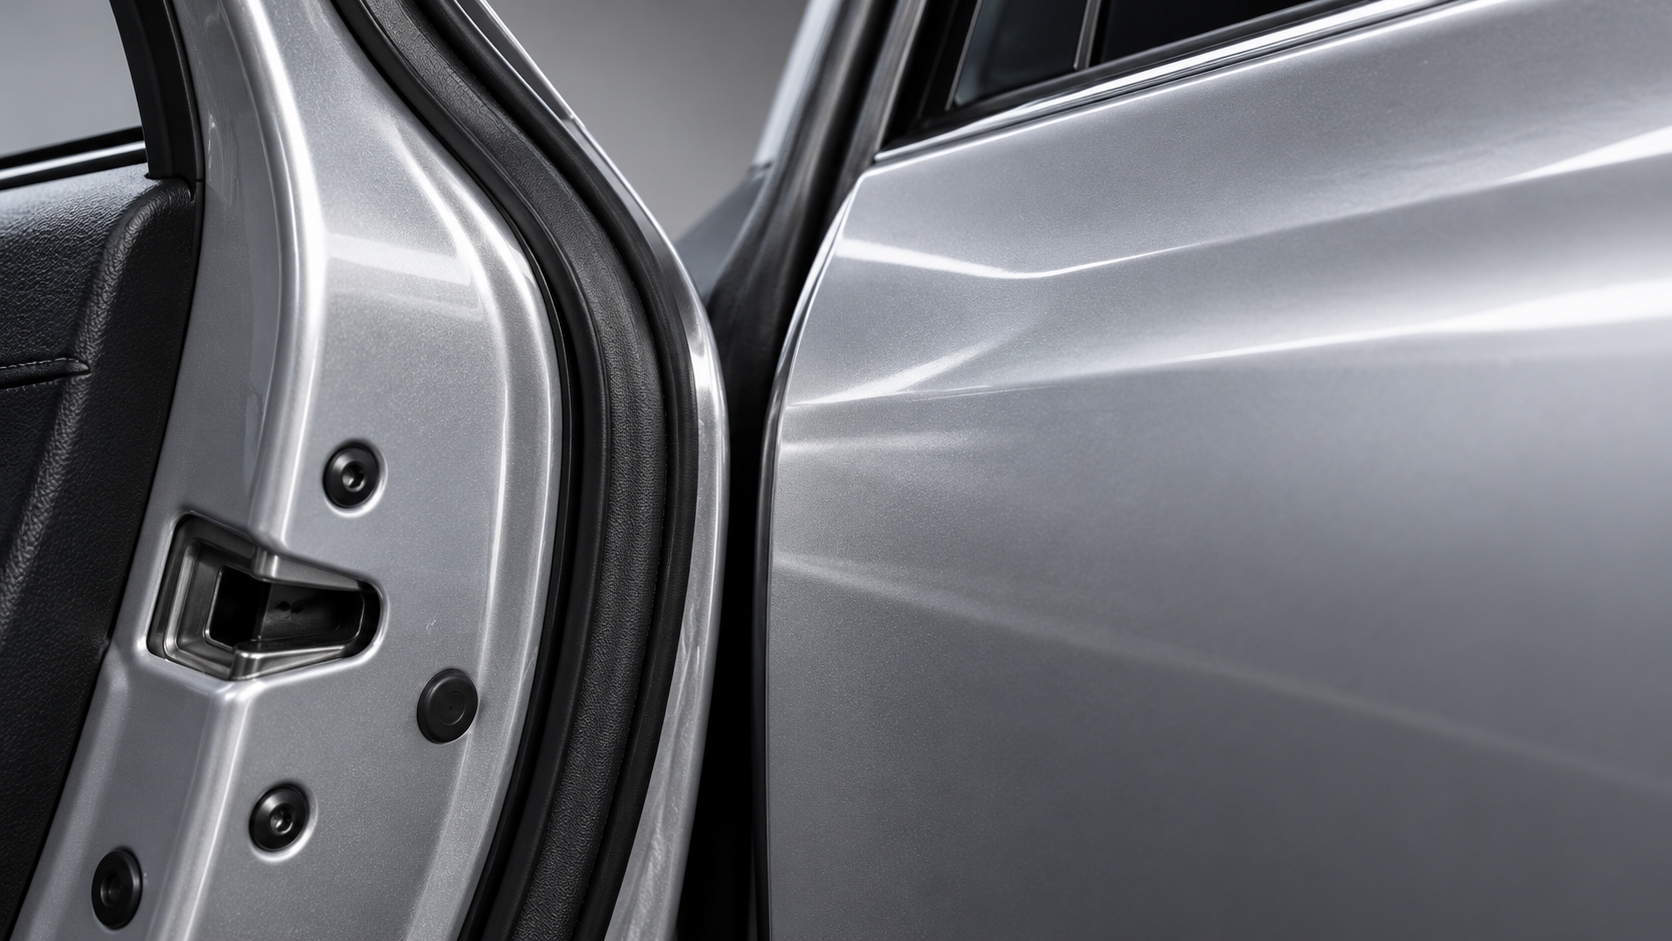
Loose paper at one corner and strong drag nearby justify checking alignment before adding lubricant. Look at panel gaps, door flushness, hinge play, striker witness marks, and signs of previous repair. Also confirm that the seal is fully seated. A partly detached carrier can resemble a door-fit problem.
Do not move the striker inward simply to squeeze the seal harder. That can increase closing effort, overload one area, and leave another poorly supported. Follow the vehicle manufacturer’s adjustment sequence and specifications; hinge wear or door sag should not be disguised with striker movement.
Clean first; lubricate only when the surface allows it
If fit appears correct, clean the seal and its mating surface using the vehicle manufacturer’s recommended method. Where permitted, mild detergent and water with a soft cloth are a sensible starting point. Remove grit gently, rinse away residue, and allow the area to dry before reassessing it. Abrasive pads can damage low-friction coatings even when the underlying rubber looks robust.
Avoid petroleum oils, aggressive solvents, and general-purpose penetrating sprays unless explicitly approved for that application. EPDM generally has poor compatibility with petroleum oils, and a product harmless to the base rubber may still affect flocking, adhesives, or surface treatments.
Lubricant selection needs the same care. Silicone products are not universally suitable for every weatherstrip. Some coated or flocked seals require a specific treatment or no added dressing. Use only a product approved for the particular seal, apply it sparingly, and keep it away from glass and surfaces awaiting paintwork.
If lubrication stops the noise, record that result without treating it as proof of a completed repair. A displaced lip can also become quiet when lubricated. Recheck fit and compression, especially if previous treatments lasted only briefly.
Recognize when the seal has lost its working shape
A serviceable seal must deform enough to accommodate movement and recover enough to maintain contact. A permanently flattened sponge section, hardened lip, torn corner, or damaged carrier cannot reliably be restored with dressing. Compare recovery gently against an undamaged section, while recognizing that different portions may intentionally use different constructions.
Replacement decisions should consider profile geometry, attachment method, corner construction, and any low-friction treatment—not just overall width or a description such as “EPDM rubber.” A visually similar extrusion may close too heavily or fail to follow the opening correctly.
For example, T-shaped Sealing Strips for Aluminum Alloy Doors and Windows belong to a different fitment category. Their profile illustrates why application matters: a building-window strip should not be assumed suitable for an automotive door merely because it fits a groove.
Material information helps, but finished-seal performance decides
EPDM is widely used in weatherstripping because of its weathering and ozone resistance, but the polymer name alone does not predict squeak behavior. Compound formulation, sponge structure, cure, surface finish, and compression set all influence performance. Hardness alone is not a reliable purchasing shortcut.
Hebei Weizhong Rubber Technology, based in Xingtai, has specialized in EPDM reclaimed rubber research, production, and sales since 1986. For compound development involving reclaimed EPDM, suitability requires assessment within the complete formulation and finished profile. Raw-material information can support that work; it does not replace validation of compression recovery, weathering, and surface friction for the intended automotive application.
After repair, repeat the original noise-producing conditions where safe, check closing effort, and perform the manufacturer’s specified water-leak check where applicable. Document exactly where the noise originated and what changed. If the door is quiet only when heavily lubricated or pulled unusually tight against the body, return to the contact pattern—the underlying problem may still be there.
Leave A Message
If you are interested in our products and want to know more details, please leave a message here, we will reply you as soon as we can.